Monday, November 30, 2015

eo-2 Star Block Assembly


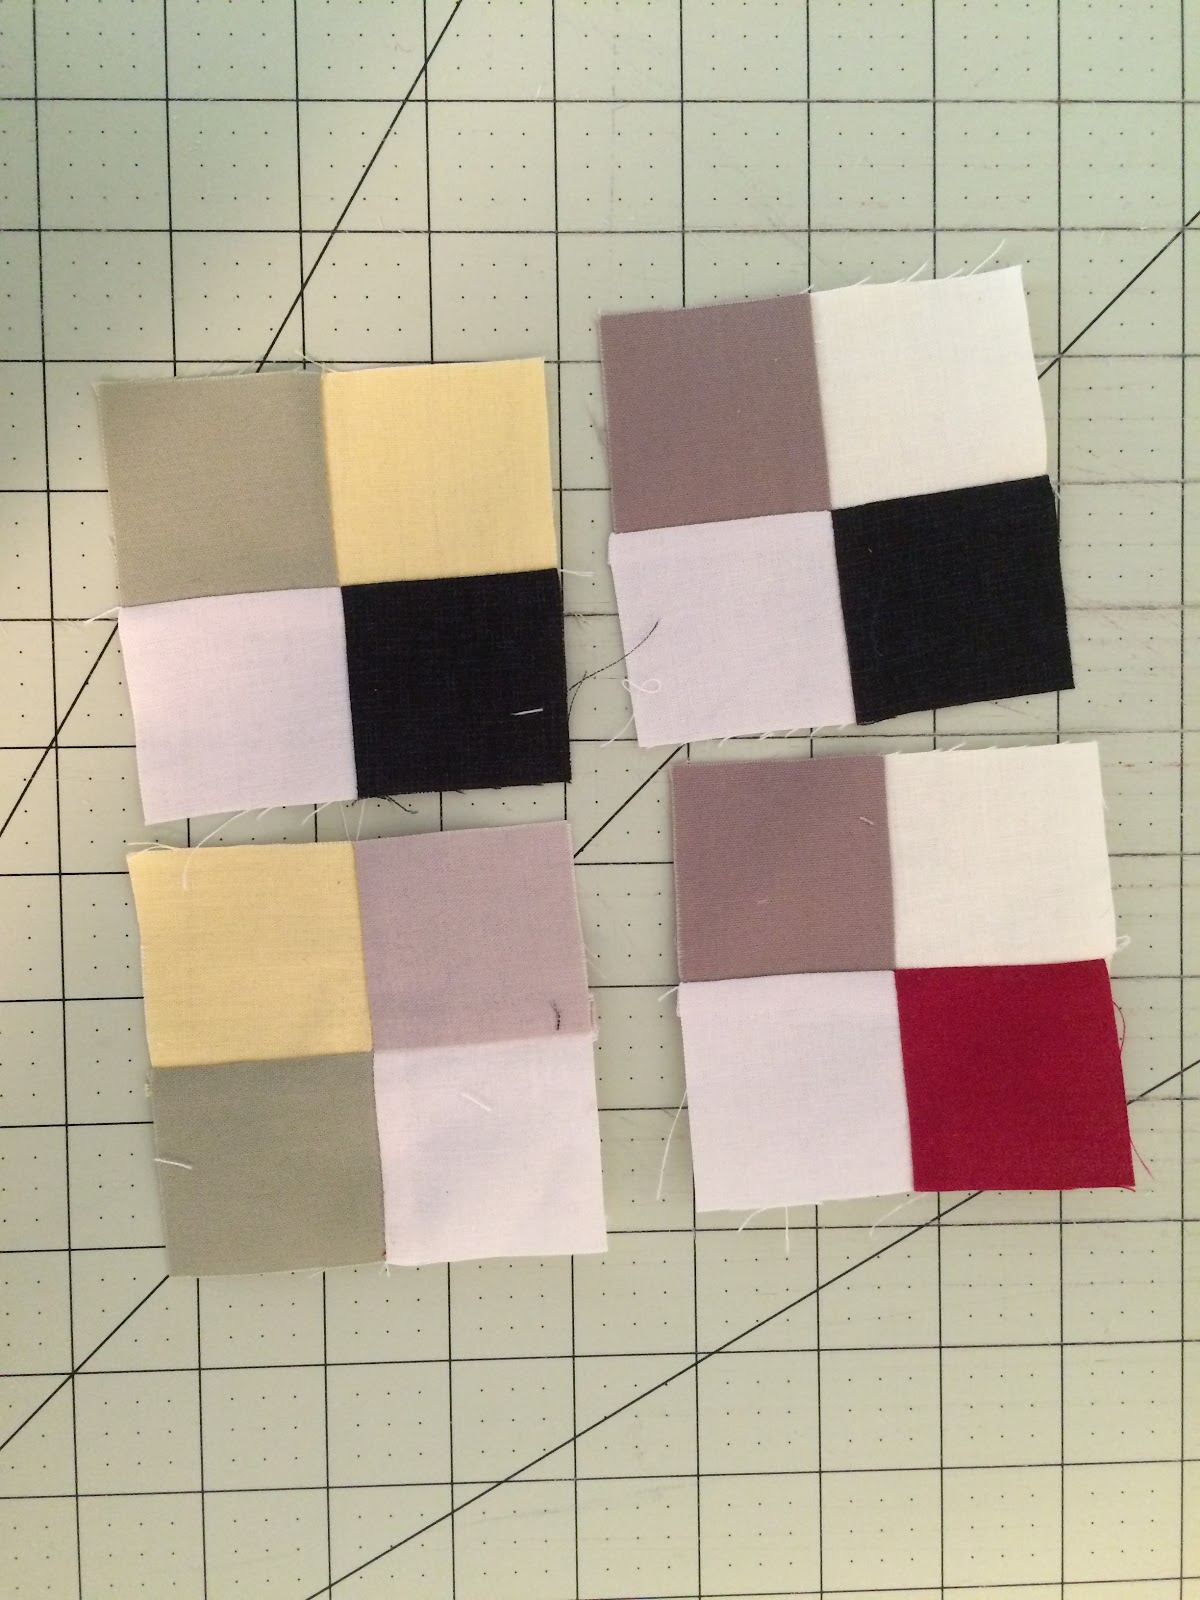
The star block consists of four triangle blocks, four hour-glass blocks and a square in the center. I had made the triangle blocks when I put together the ladder blocks. So, all that is left is to cut 20 3.5" squares for the center of each block and to make the hour-glass blocks (80).

The hour-glass blocks start the same as the triangle blocks, but using the rectangles that were cut to 6" x 9". I paired medium and dark rectangles and drew the block details on the medium fabric.

I drew a rectangle (4 1/4" x 8 1/2"), bisected it to define squares, and added diagonal lines to bisect the squares. Finally, I drew in the seam guidelines. This lay-out had a great deal of fabric waste - but does have the upside of accurate block geometry. 

After generating 80 triangle blocks, I cut these blocks in half to form two right-triangles. The triangles are half dark and half medium. I then paired each triangle with a triangle of opposing alignment of the dark and medium fabric and stitched along the hypotenuse.

I trimmed each block to 3 3/8" and then assembled the star block:


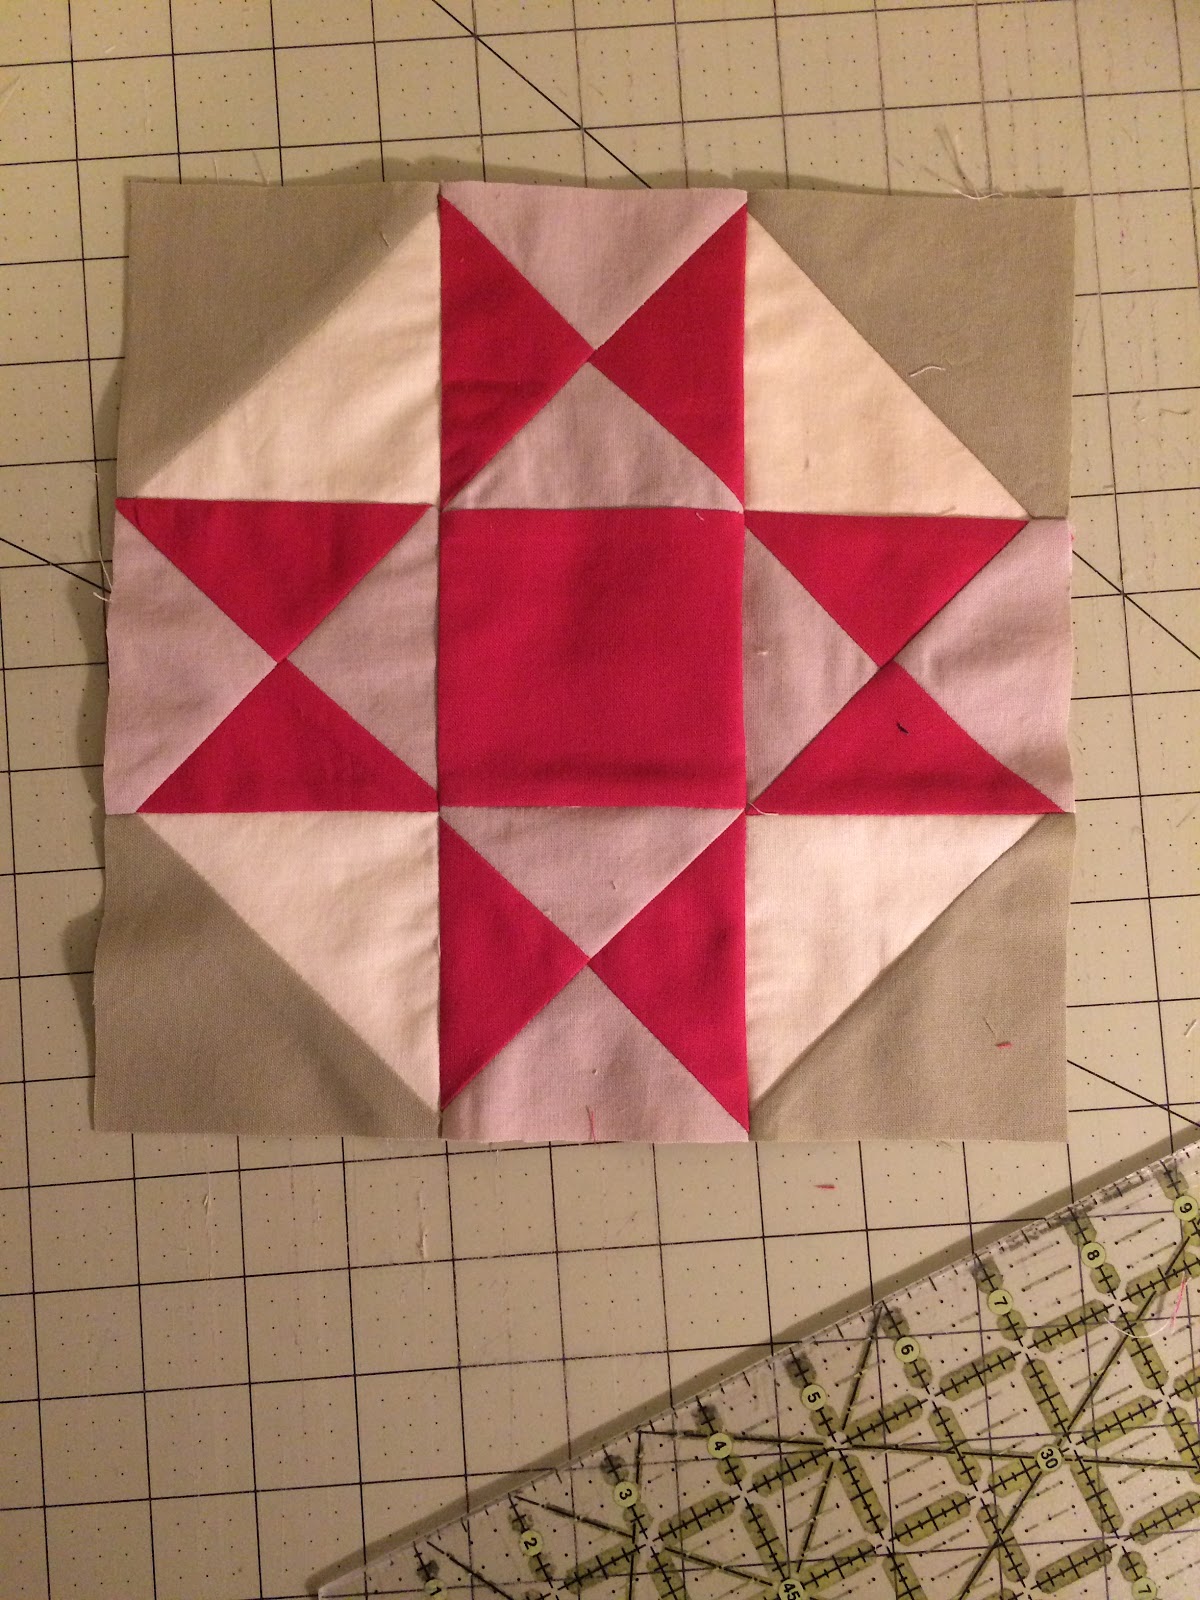
In general, the blocks looked pretty good. However, I had some puckering along a lot of the seams. I think this might be a thread tension issue. I also ended up having the star points reaching the edge of the block. This means that, when the blocks are sewn into the quilt top, the points will be flat. Bummer.

This is generally the point where I have to decide if I will continue with the quilt or not. I am usually too lazy or money-conscious to start over. In this case, I also continued just to see how the colors worked out.

Thursday, November 26, 2015

eo-2 Ladder block assembly part 2


The ladder block requires five 4-patch squares and four triangle squares. At this point, each square should be 3.5" on a side. A closer look showed that I am having the same difficulty I had with the Kaleidoscope quilt blocks - my seam allowance is coming in above 1/4". As a result, the blocks are closer to 3 3/8" on a side. I trimmed the blocks to all have this dimension.

To assembly the block, I had to take care (i.e. I had to redo a bunch of sewing multiple times!) to keep the correct orientation of the triangle blocks to the four-patch blocks. 

I sewed together 3 four-patch, triangle block pairs, and then added the remaining missing block for each row. Two of the completed blocks are shown below.


The finished block size was 9.25" on a side.

Monday, November 23, 2015

eo-2 Ladder block assembly part 1


The ladder block assembly begins with making the four-patches. There are 5 four-patch blocks each, with a total of 80 needed for this quilt.

I sorted out the 2" strips to match one light strip with either one medium or one dark strip. I tried to create as much variation as possible. I sewed the strips together and pressed the seam allowance towards the darker fabric.

Next, I cut the strips into 2" widths, paired each small strip with another - and the 4-patch blocks are complete:


The triangle blocks were trickier. With the extra fabric in the cutting list, I had to actually mark each block with pencil:


I paired two 5" x 9" rectangles (one light with one dark or medium). I traced a 7 3/4"  x 3 7/8" rectangle on the lighter fabric. Then, I added in a center line, two diagonal lines (bisecting each square) and added 1/4" seam guidelines. This final structure makes four blocks. 

The bummer for me is the extra fabric on two edges of the rectangle. I will save the extra but am pretty sure it will not be useful. If I ever make another Ladder to the Stars quilt, I will work out a cutting list with less waste.


I stitched along the seam guidelines and then cut out each block. I pressed the seam allowance towards the darker fabric.


I made enough triangles blocks for the ladder blocks (64), the border (40), the corners (4), and the star blocks (80). The light and medium combinations were saved for the star blocks.

Friday, November 20, 2015

eo-2 Cutting list and colors


The ladder and star blocks assigns the parts of the block by light, medium and dark. I am following a pattern from a book titled Quick and Easy Scrap Quilts by Patricia Wilens.

The blocks begin with:

  • 2" x 22" strips
    • 15 dark/medium
    • 15 light
  • 5" x 9" rectangles
    • 16 dark
    • 31 medium
    • 47 light
  • 6" x 10" rectangles
    • 20 medium
    • 20 dark
  • 3.5" x 3.5" squares
    • 20 medium
    • 20 dark
At first glance, this cutting list appears to be pretty wasteful. I am going to follow the plan, though, in case there is a good reason for the excess fabric.


Monday, November 16, 2015

eo-2 Ladder to the Stars Quilt


The second quilt in the Eastern Oregon series is the Ladder to the Stars Quilt. This quilt is a combination of a ladder block and a star block with a border of two triangle blocks separated by a square.

Schematics of the ladder and star blocks are shown below. The finished block size is 9 inches.


With the intent of making a crib sized quilt, the layout will include:

  • 16 ladder blocks
  • 20 star blocks
  • 20 border units 
  • 4 corners (triangle blocks)
The full layout will be a square:


Thursday, November 12, 2015

eo-1 Kaleidoscope Quilt Top Assembly Part 2


The quilt top for the Kaleidoscope Quilt is complete. Left to do is:
  • make binding (gray)
  • prepare the backing fabric (red)
  • prepare the batting
  • pin
  • quilt
  • bind
I plan to tackle this list of items after completing two more quilt tops. I think I do better with the quilting and binding when I do a lot of it over a period of time. 

The quilt is currently 48"x42".

Here is a picture of Spray, Oregon in November:


We are taking a sight-seeing break (and an attempt at breaking ice!). The picture does not really do the colors justice. However, you can see the giant blue sky. This is a treasure after weeks of gray and rain in the Portland area.

Monday, November 9, 2015

eo-1 Kaleidoscope Quilt - Top Assembly


The top assembly seems to be the point of complications for many of my quilting projects. I have become pretty careful about squaring up and trimming blocks to uniform dimensions, but even with this, there is usually some challenge.

For this quilt, the challenge seems to be the stretch in the triangle pieces. I sewed each block together in pairs (pressing seams open). If the triangle pieces were stretched during the block assembly, the resulting block is not flat. This only becomes really obvious during assembly.


The image above shows the back side of a pair of blocks. After pairing the blocks, I sewed the pairs together to form a 2x2 square of blocks.


The seventh row is left as pairs of blocks. I like to assemble a quilt top in smaller units like this to avoid having seams that stretch across the entire quilt. In this case, I sewed four 2x2 blocks together to make 4x4 blocks, and then two 4x4 blocks to make and 8x4. I also sewed the remaining 2x2 to a 2x1 to make 2x3 blocks, and then four 2x3 blocks to make an 8x3. Finally, I sewed the 8x4 to the 8x3. With this approach, I end up with a single long seam.


The final quilt top is shown above. I really like how the circular pattern emerges in the design once the blocks are sewn together. I also see a map compass symbol repeated in the top. The color combination is a surprise. I think there is too much red in this quilt - and as I was putting it together, I spent quite a bit of time thinking about the landscape in Eastern Oregon. In autumn, the red comes from willow branches - along river banks. So, unless you are driving along the John Day river, there is not much of this color in the landscape. 


Thursday, November 5, 2015

eo-1 Kaleidoscope quilt block assembly part 3


The final block size at this point is supposed to be 6.5". How did I come to this number? The octagon triangles are start with a strip of fabric that is 3 15/16" wide. This is the height of the triangle. The bottom edge is 3 5/16".

The schematic below shows the initial triangle in blue. The left and right seam allowances are shown in green and pink. A final bottom seam allowance is shown in light green. The vertical measurement is half the final block dimension (6.08").


If we add the bottom seam allowance in, the block size before assembling the top should be 6.58".

Unfortunately, my blocks came in well under this size. I am pretty sure this has to do with how I 'measure' (eye-ball) a 1/4" seam allowance. I use the edge of my presser foot on the sewing machine. For this quilt, the smaller size is not an issue, but I need to resolve this for subsequent quilts. The blog Sew Mama Sew has a good post about how to achieve accurate seam allowances.

For this quilt, I trimmed each block to a 6.25" square.


Monday, November 2, 2015

eo-1 Kaleidoscope quilt block assembly part 2


The final part of the block assembly for the Kaleidoscope quilt is to add the corner triangles. This required that I set the blocks out again, because the corner triangles on the quilt perimeter are all dark. The central blocks have medium and light corners.


In the photograph above, you can see the individual blocks with the corners added. I played around with the block arrangement quite a bit. I was surprised how the colors worked together. It took me a while to figure out if I liked the combination,and how to minimize what I thought did not work well.

The finished quilt will look different - mostly because I am disorganized. However, now that the corner triangles are added, the blocks on the perimeter are definitely going to remain on the perimeter.