Monday, January 25, 2016

Almost Finished: First Three Quilts!

I bind quilts using the sewing machine. My process is as follows:

  1. Sew the wider half of bias tape to the back side of the quilt. Before starting, though, leave about 4" of bias tape free. To sew the tape to the back of the quilt, unfold the tape, match the bias tape edge to the quilt edge and sew a 1/4" seam allowance (even if the fold line is more than 1/4" from the edge.
  2. At the corner of the quilt, stop sewing 1/4" inch from the edge. 
  3. Extend the bias tape off the end of the quilt, then fold at a right-angle in the direction of the next edge. At the corner, there will be two layers of bias tape to sew through.
  4. Sew from the edge, using the same process in Step 1. 
  5. About 6" from completing the addition of the bias tape to the quilt perimeter, sew the loose end (the 4" long piece from Step 1) to the long piece using a diagonal seam. The diagonal seam will look like the rest of the seam lines in the bias tape.
When closing the bias tape 'loop' - make sure that the length is correct to cover the remainder of the back and not too long. Finish sewing this section. To sew the bias tape to the front of the quilt:
  1. Fold the bias tape around the quilt edge.
  2. Pin the tape in place.
  3. At the corners, fold one edge in. You will have a diagonal fold at the corners.
  4. Sew the top of the bias tape with a seam allowance that is slightly bigger than 1/4", so hide the stitching from the back side.
This approach is pretty straightforward. The most difficult parts are matching and stitching together the two edges. This is easier if you leave a lot of bias tape free on both sides and are careful to join them so the final length just reaches around the quilt perimeter.


Thursday, January 21, 2016

Quilt Binding

I make the binding that is sewn around the edge of the quilts using a modified 'continuous binding' approach.

The steps are as follows:

  1. Begin with a square of fabric (half a yard will create enough binding for several baby quilts) 
  2. Cut diagonally (45 degree angle) across the square.
  3. Re-orient the fabric so the hypotenuse of the triangle is parallel to the direction you like to cut. Sometimes here, I will fold the fabric in half so it is short enough for the ruler I use as a cutting guide.
  4. Cut the fabric into strips. I use 1 3/4" wide strips.
  5. Sew the fabric using the diagonal ends to create a seam that will fall at a 45 degree angle to the length of the binding material. This will make the binding easier to fold around the quilt edge.
You should not have a really long, narrow strip of fabric. At this point, you can either fold the fabric and iron or you can use a bias tape maker. A bias tape maker will fold the fabric on both edges to create seam allowances. You can iron the fabric as you pull it through the tool. 

The final step that I do is to fold the bias tape so one side is slightly wider than the other.  

The end result is a long, continuous piece of bias tape. The diagonal cut make this bias tape stretchy and more forgiving when you add it to your quilt. If you only have a long, narrow piece of fabric to make your binding, you can probably get away with cutting along the fabric grain.

Thursday, January 14, 2016

Quilting the Star of Bethlehem Quilt

The Star of Bethlehem quilting will follow use concentric stars and parallel lines that continue to the edge of the quilt.

The pinned quilt:


Quilting:

The fully quilted result (from the back):

This time, the quilting process took approximately three hours to complete.


Monday, January 11, 2016

Quilting eo-2 Ladders to the Stars

The preparation for all of the quilts is the same: tape back to the floor, lay out fleece onto the backing, and add a quilt top to the top. The stack is pinned together starting from the center of the quilt.


For the Ladders to the Stars quilt, I want to attempt to stitch in the ditch - forming a pattern that is diagonal to the quilt edges. I used a marker that fades over time to draw the quilt pattern.


The pictures I took of this process do not really show the overall pattern. I will post another image once I have the quilt completed. 


Thursday, January 7, 2016

Quilting the first three quilts

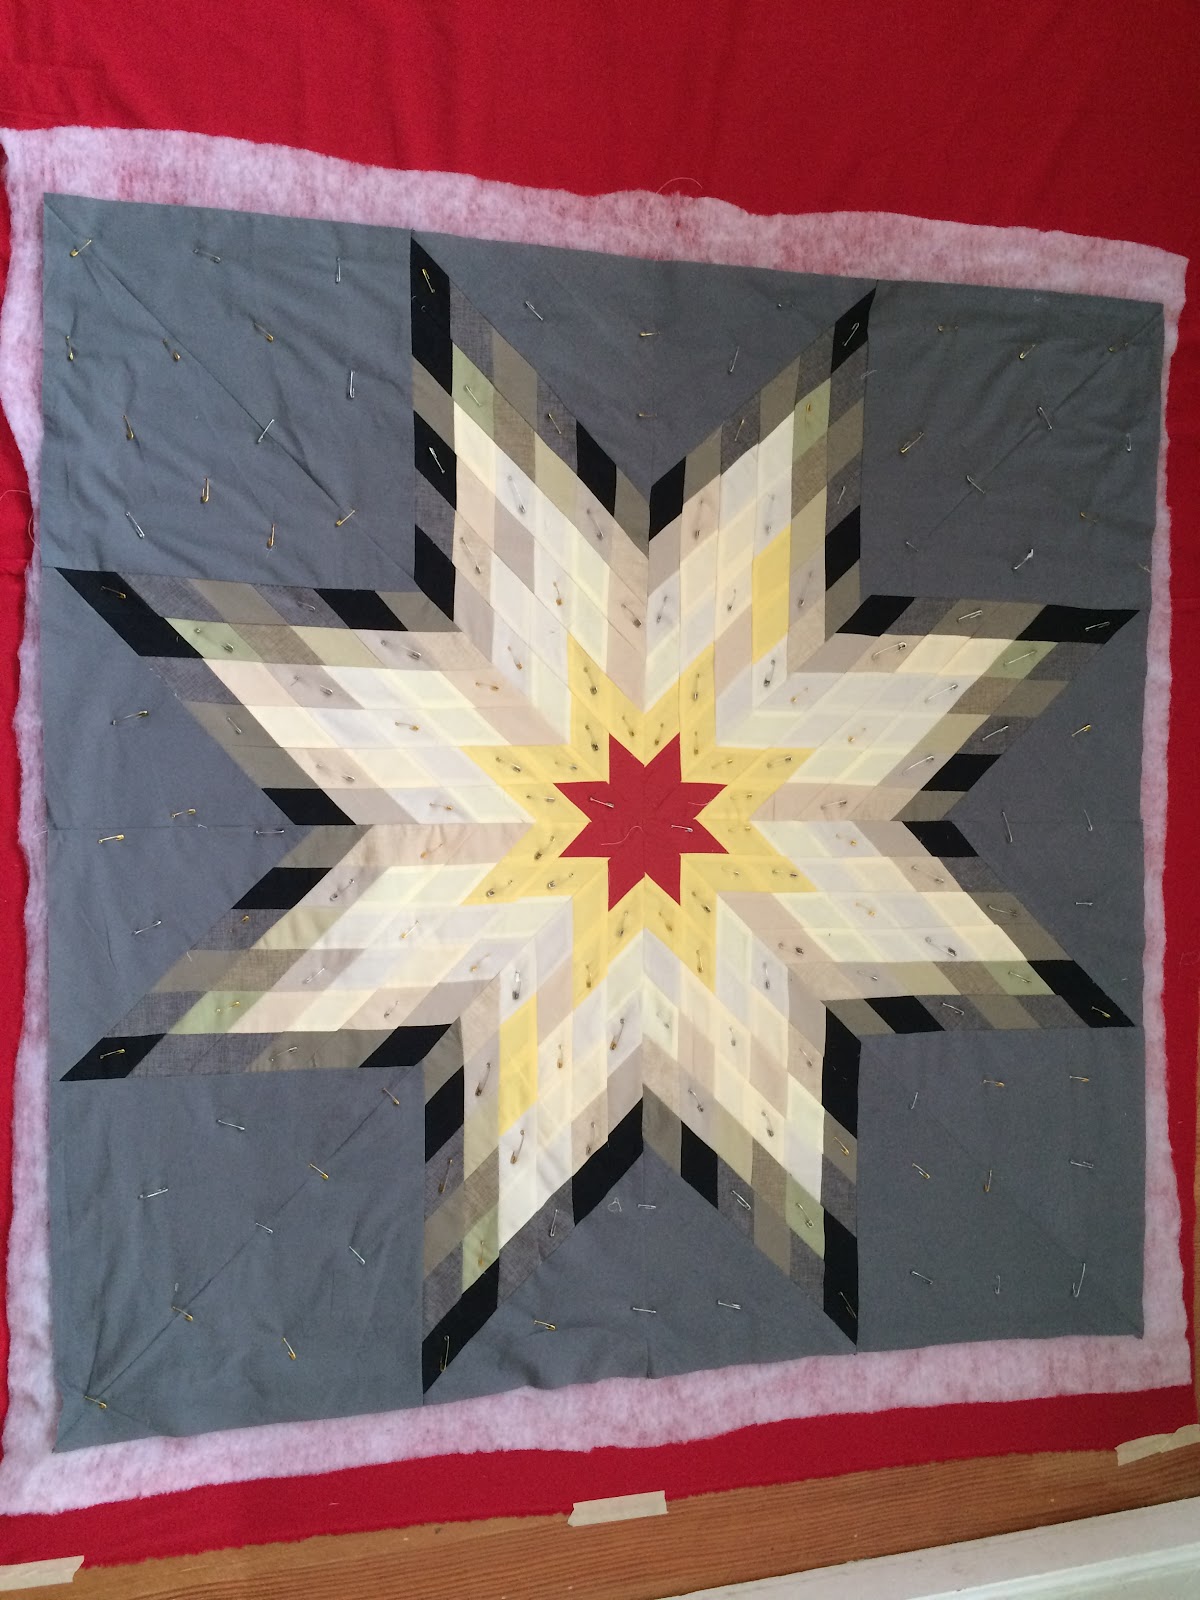
At this point, I want to finish the first three quilts. My sewing area is not very large, and I need to create space. I store the quilt tops in shoeboxes between steps, and think the tops will be better served if I quilt them to a back and secure the edges with binding.

In the last post, I covered how I prepare for quilting. I will do this for each of the three quilts. The placement of the safety pins will depend upon what I come up with for the quilting. However, I usually try to quilt along a seam line. I think this is called 'stitching in the ditch.'

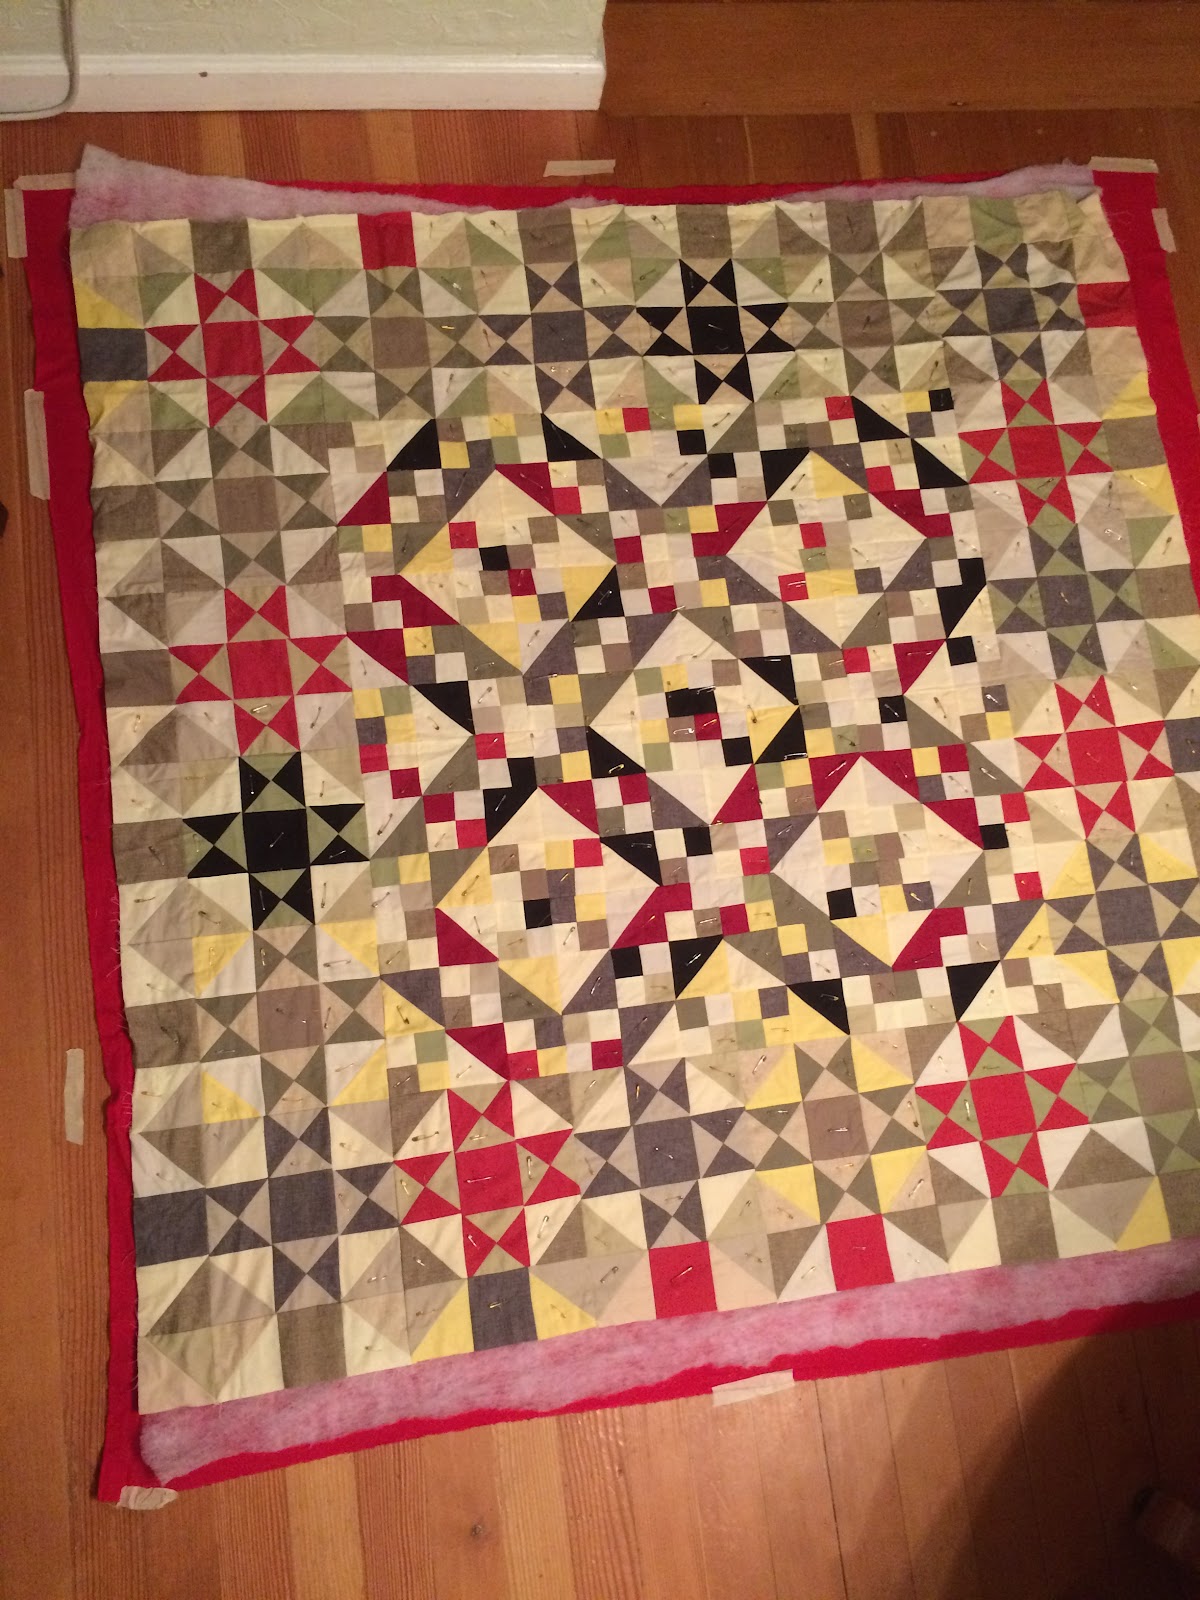
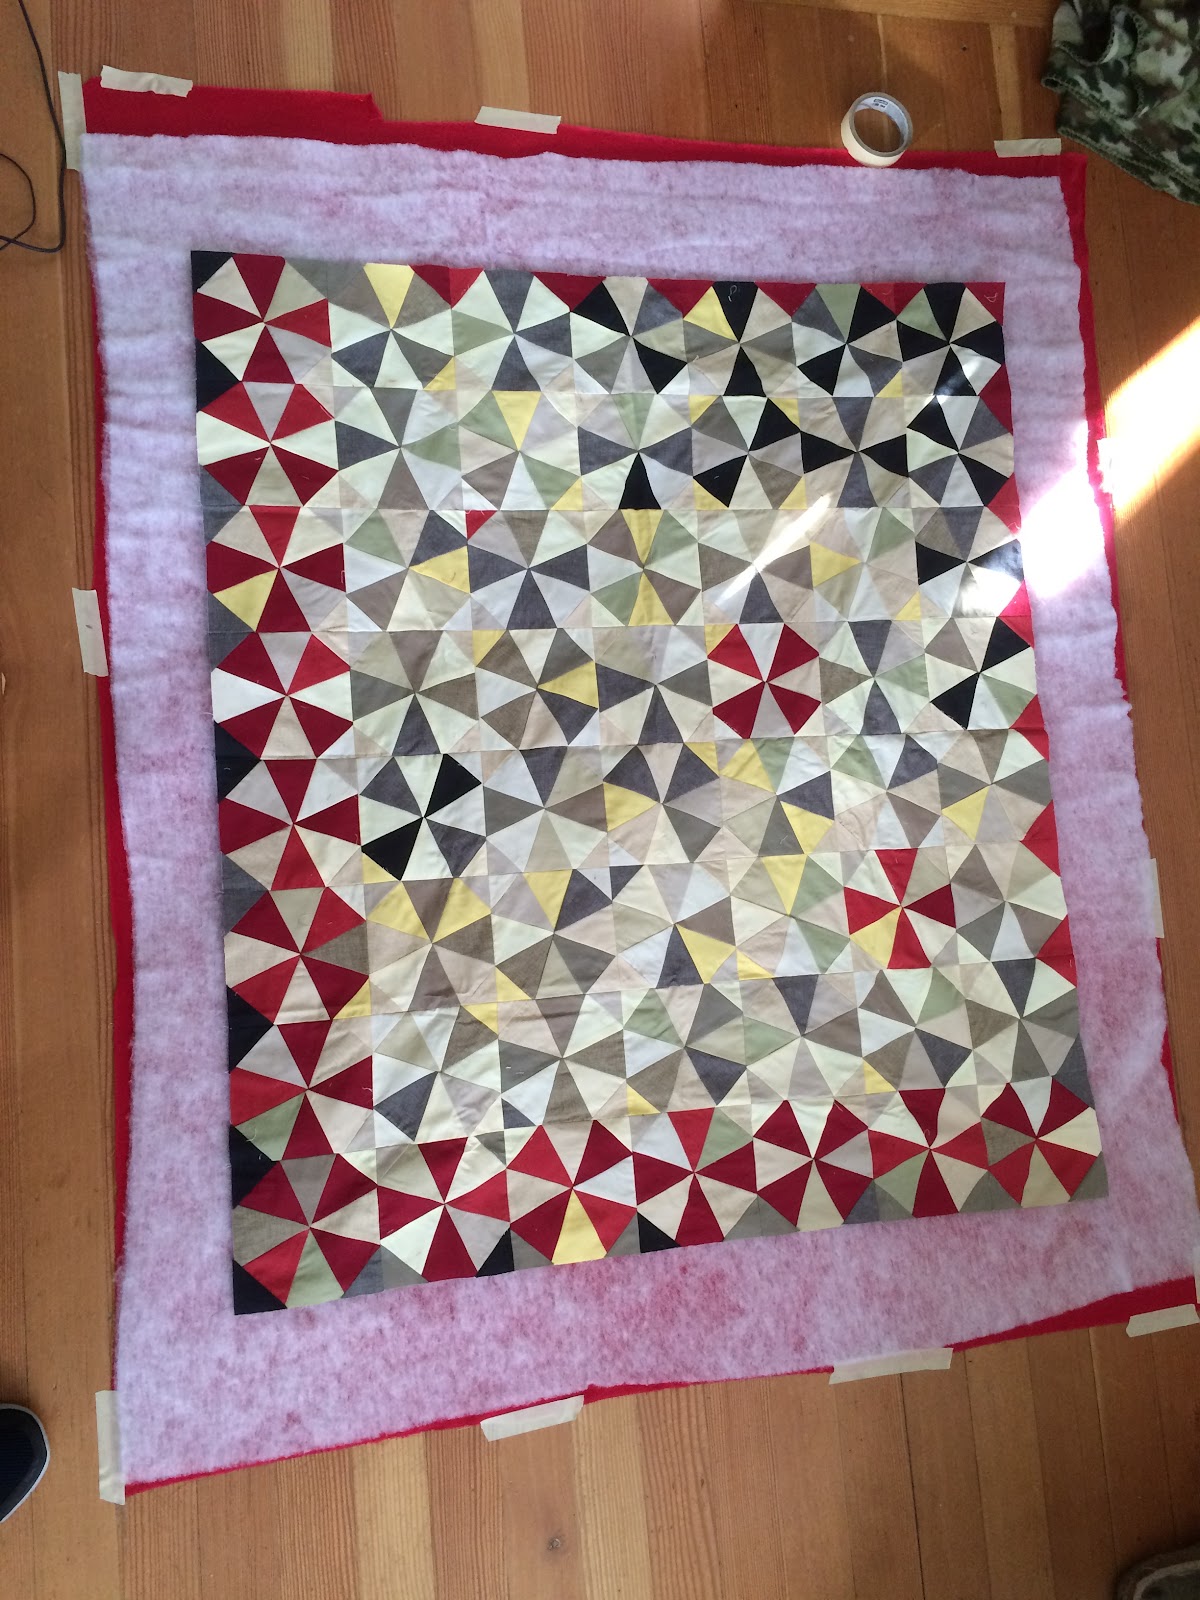
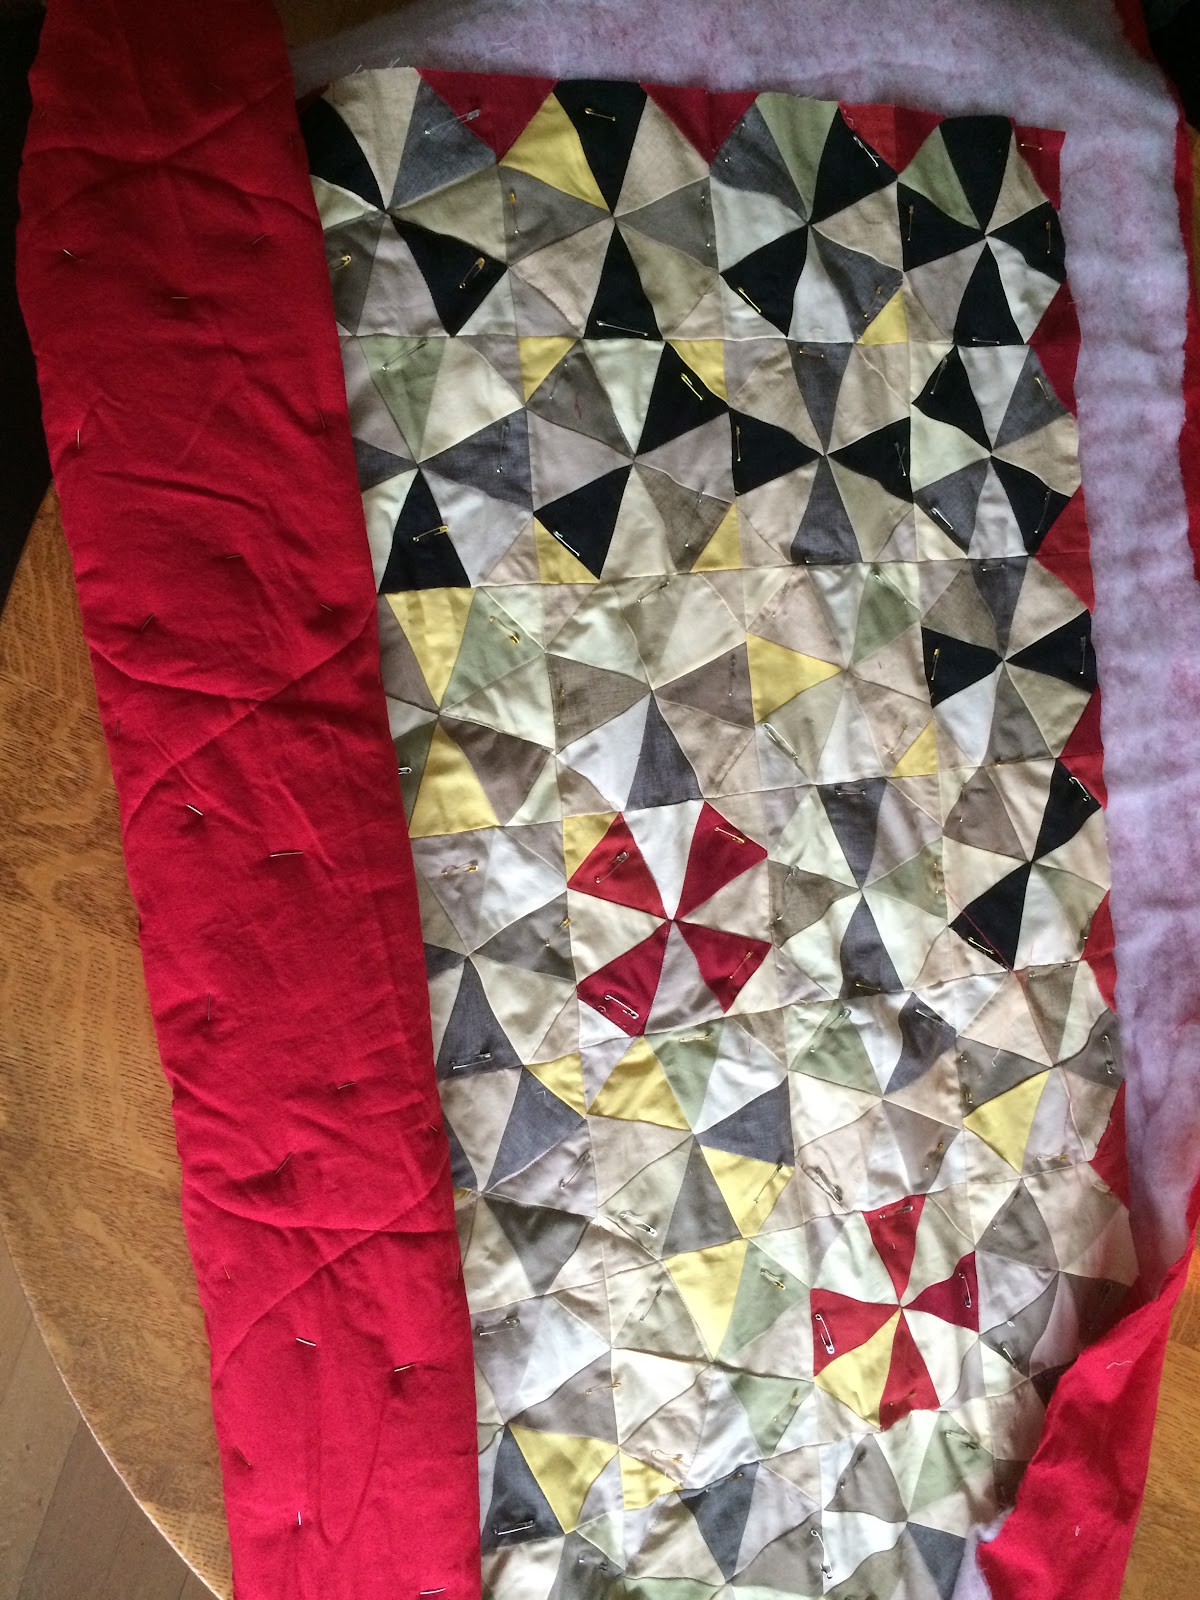
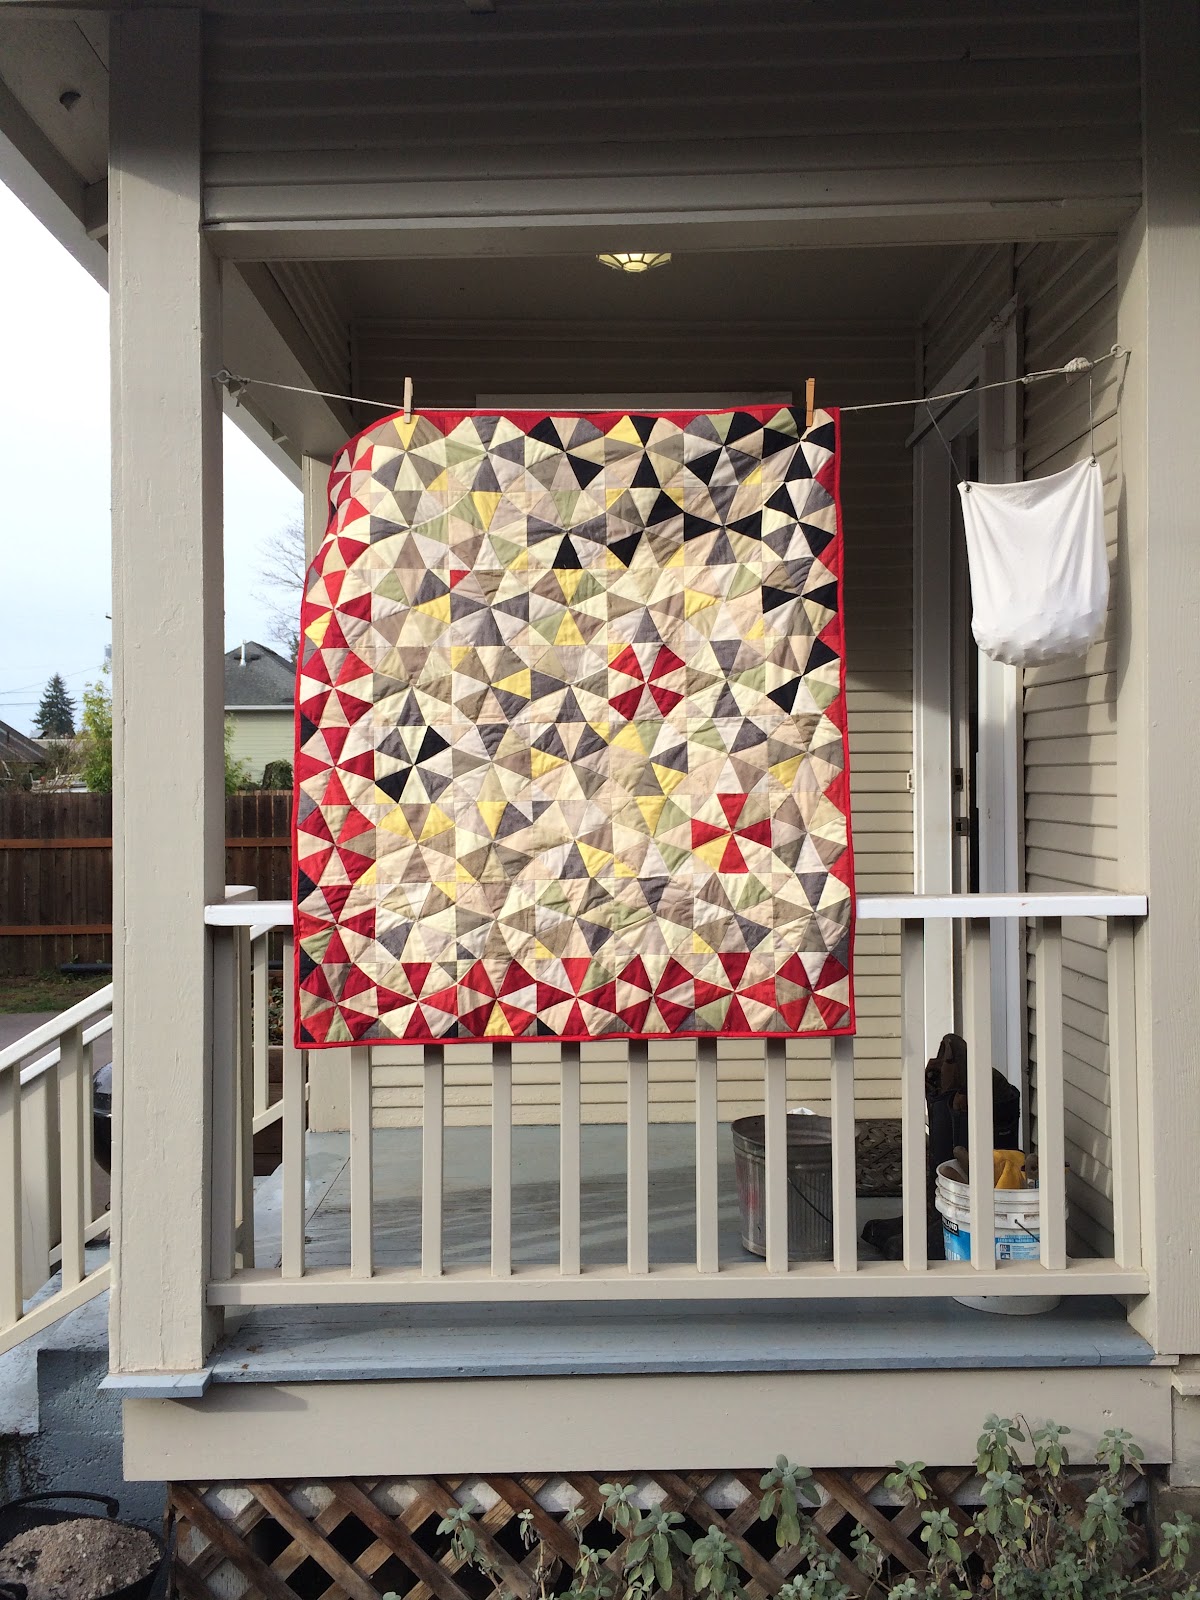
Starting in order, I pinned eo-1 (the kaleidoscope quilt) first.

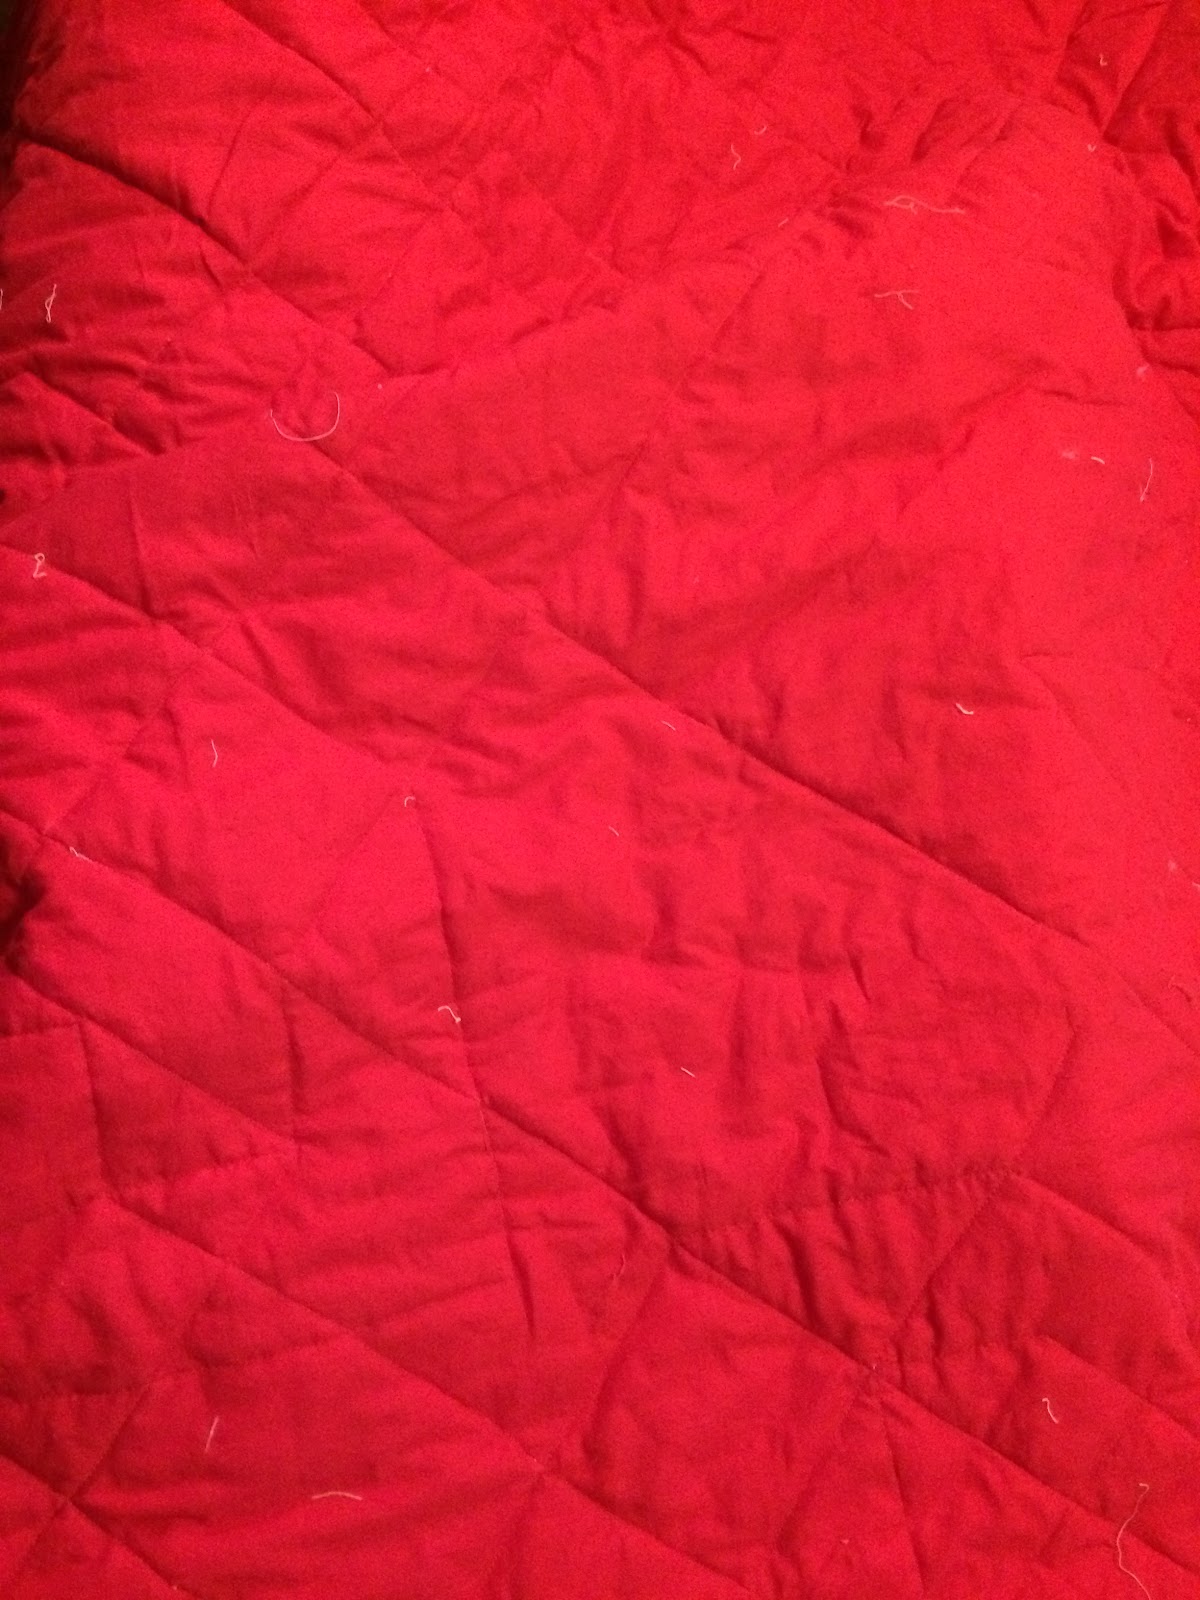
You can see that the backing fabric is a red cotton. It is not a Kona cotton. Joann's does not sell wide pieces of Kona cotton.

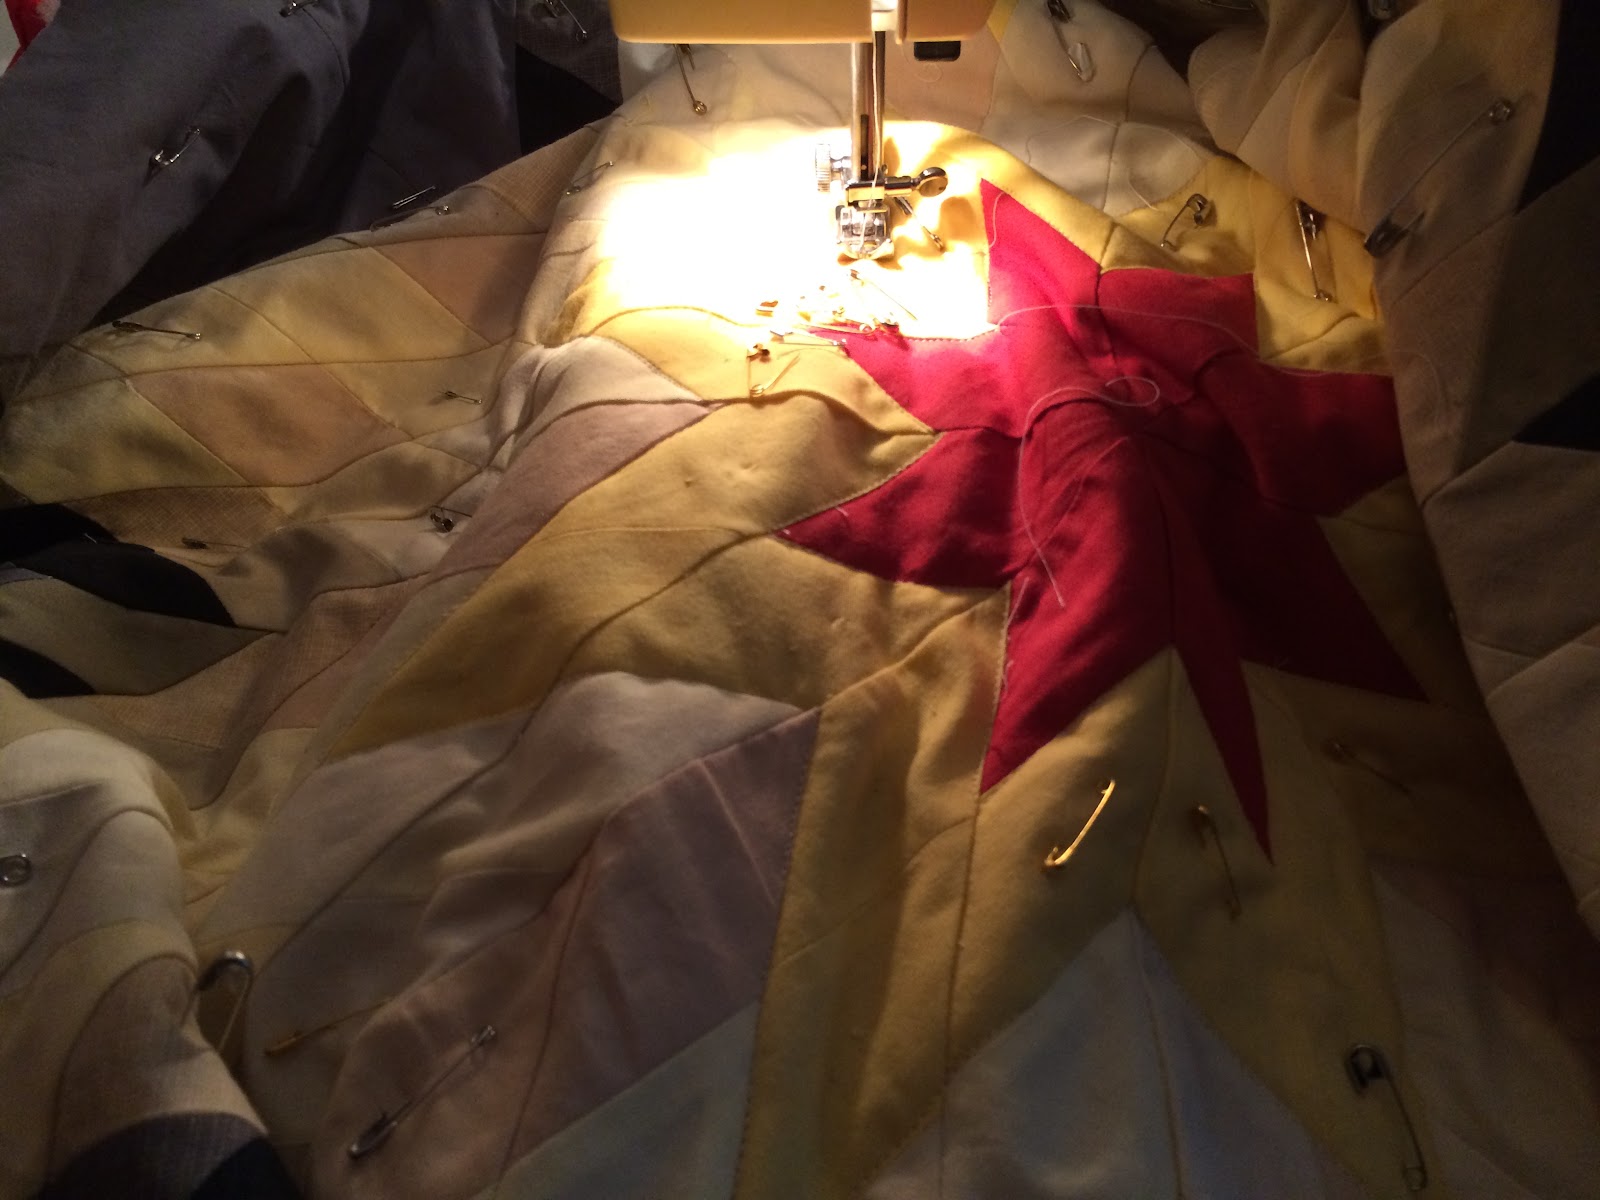
I use my old White sewing machine for everything. Here, I worked with a regular walking foot, white polyester thread for the top and red for the bottom. My stitch length setting is a 2.5 (out of a maximum of 4).


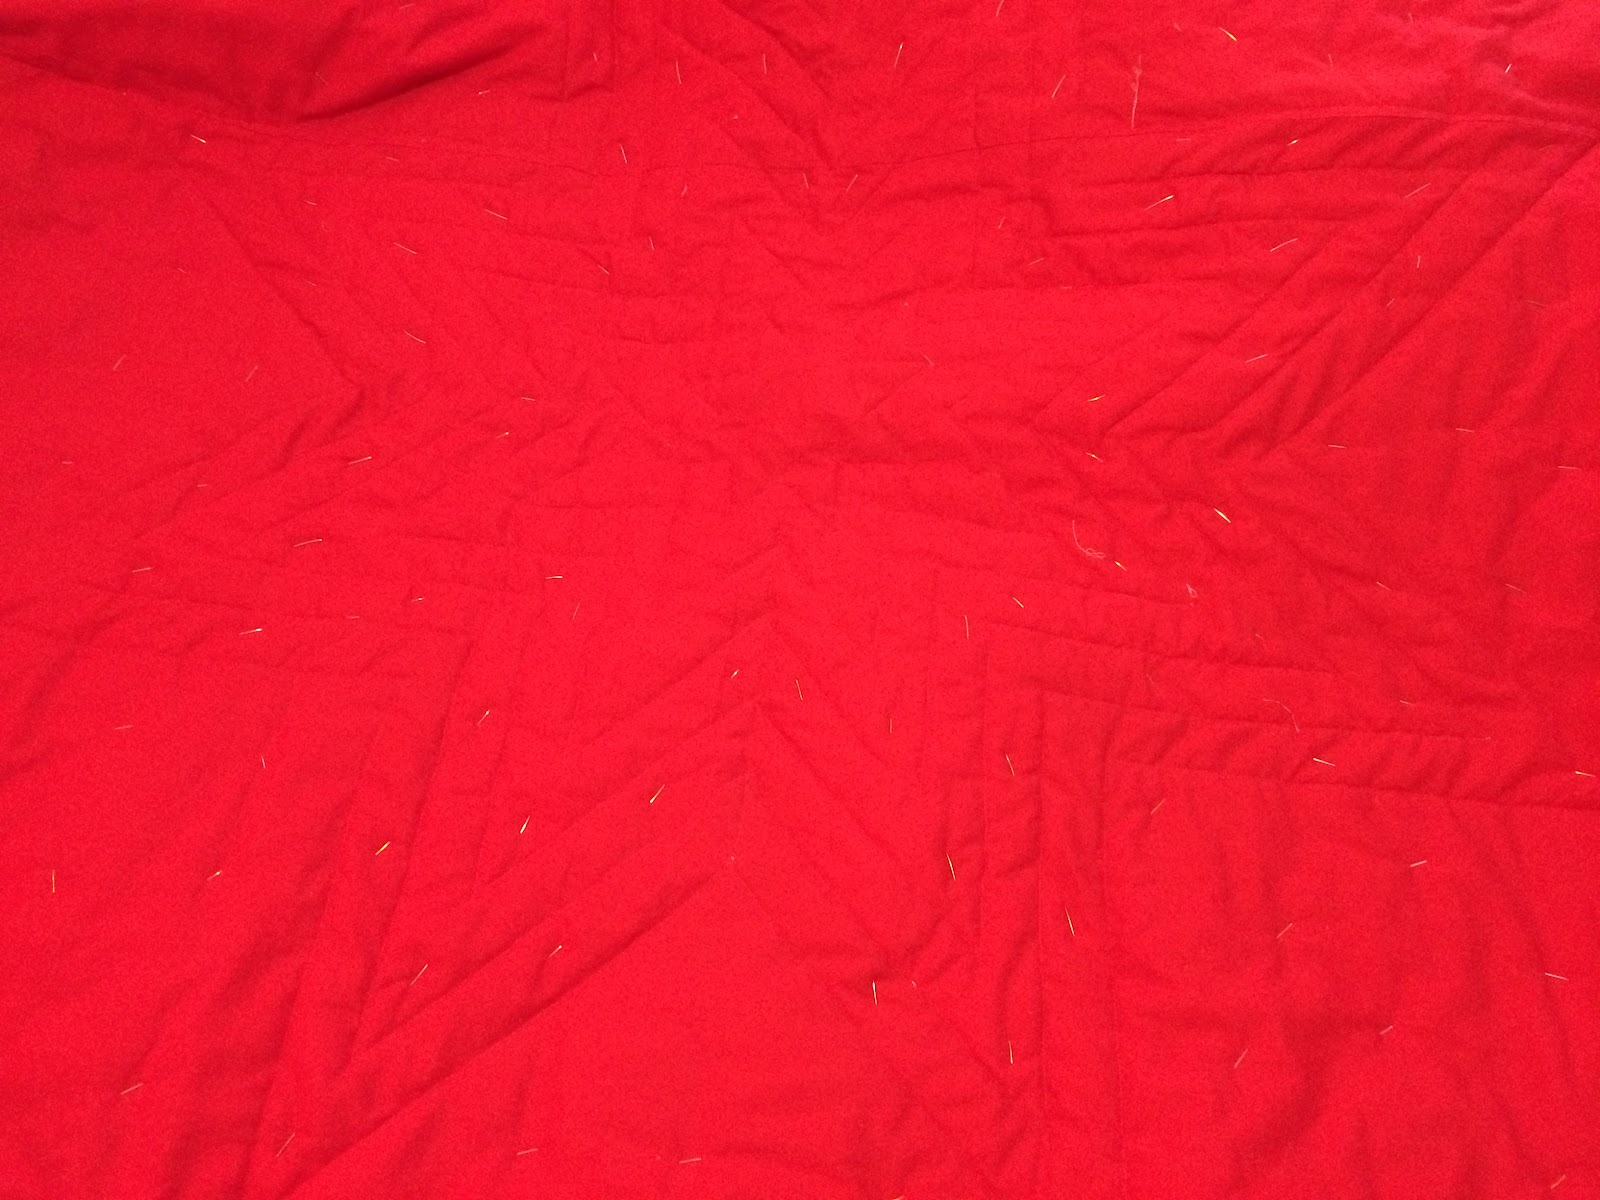
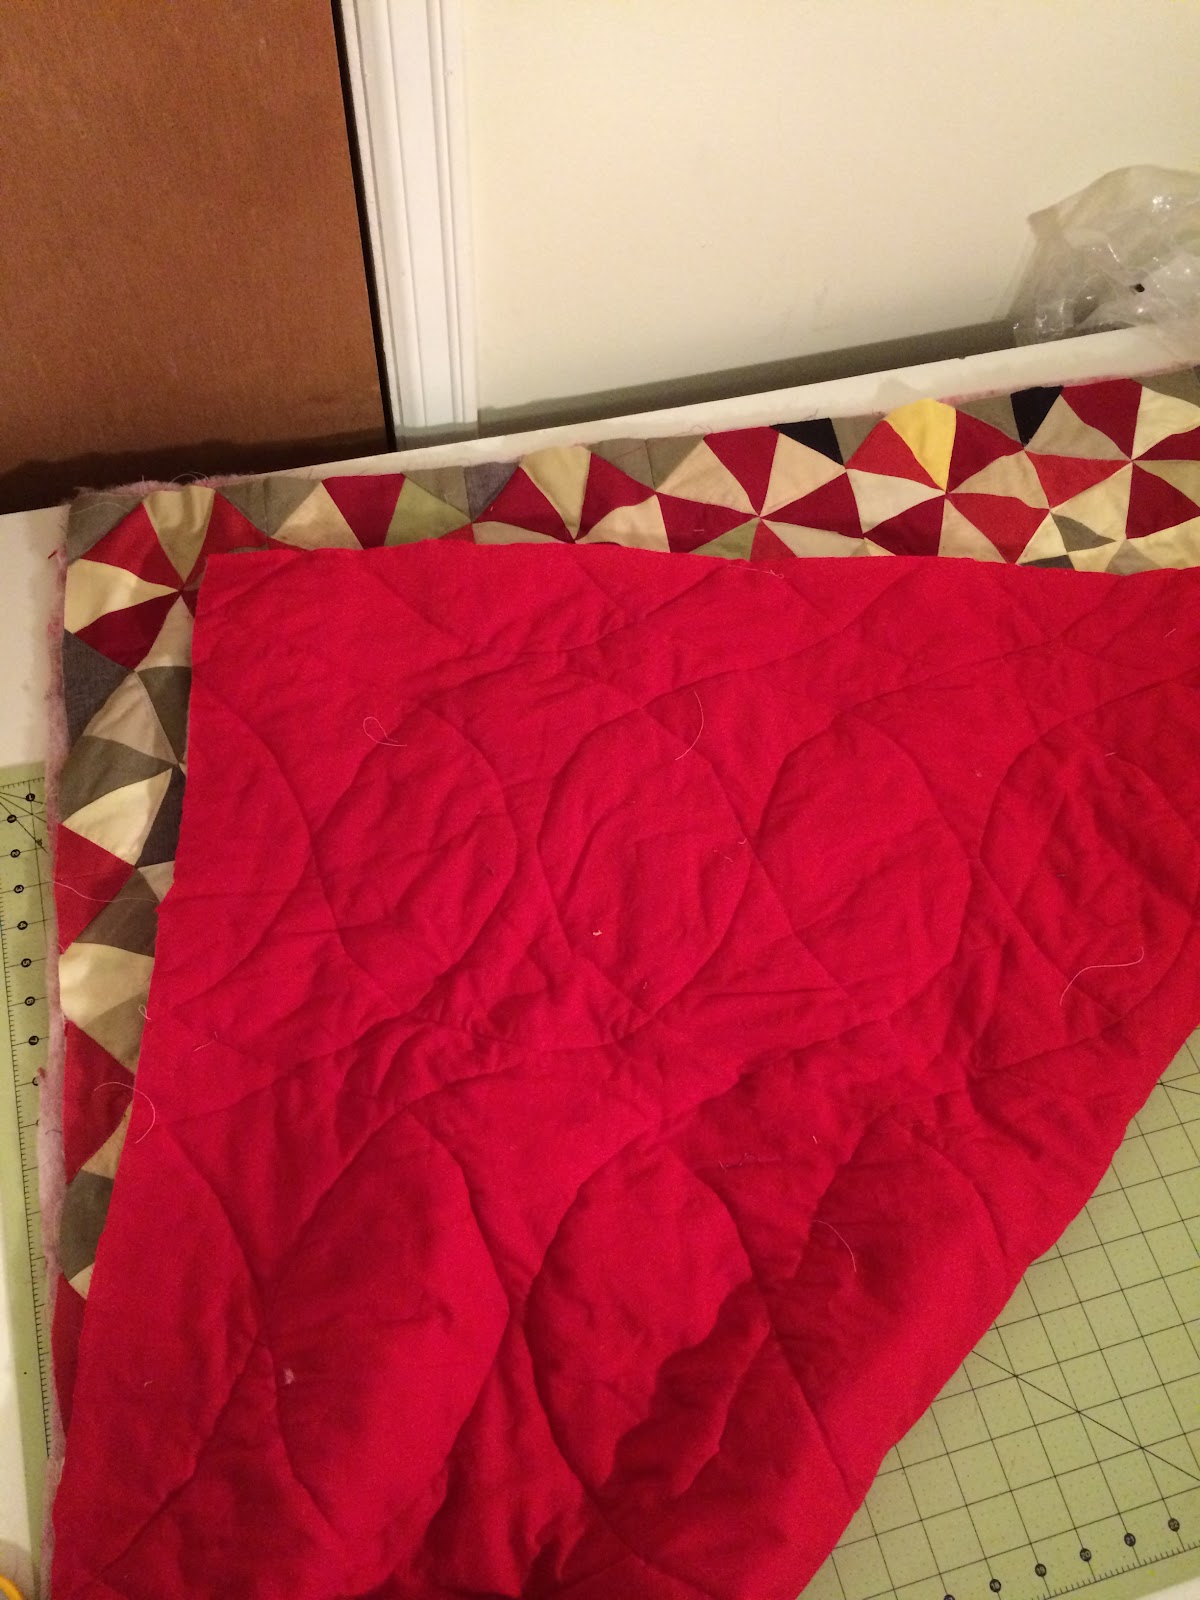
When I quilt something small, I tend to roll it up for maneuverability. You can see that I quilted along the 'circles' formed with nine blocks - in an 's-curve' format. The result is that the pattern on the back resembles a sinusoidal waveform oscillating in place.


This quilting pattern is pretty simple - and enabled me to start off the quilt, cross the quilt, and then return. I would back-stitch at each end of the quilt to avoid adding any tension to the thread.

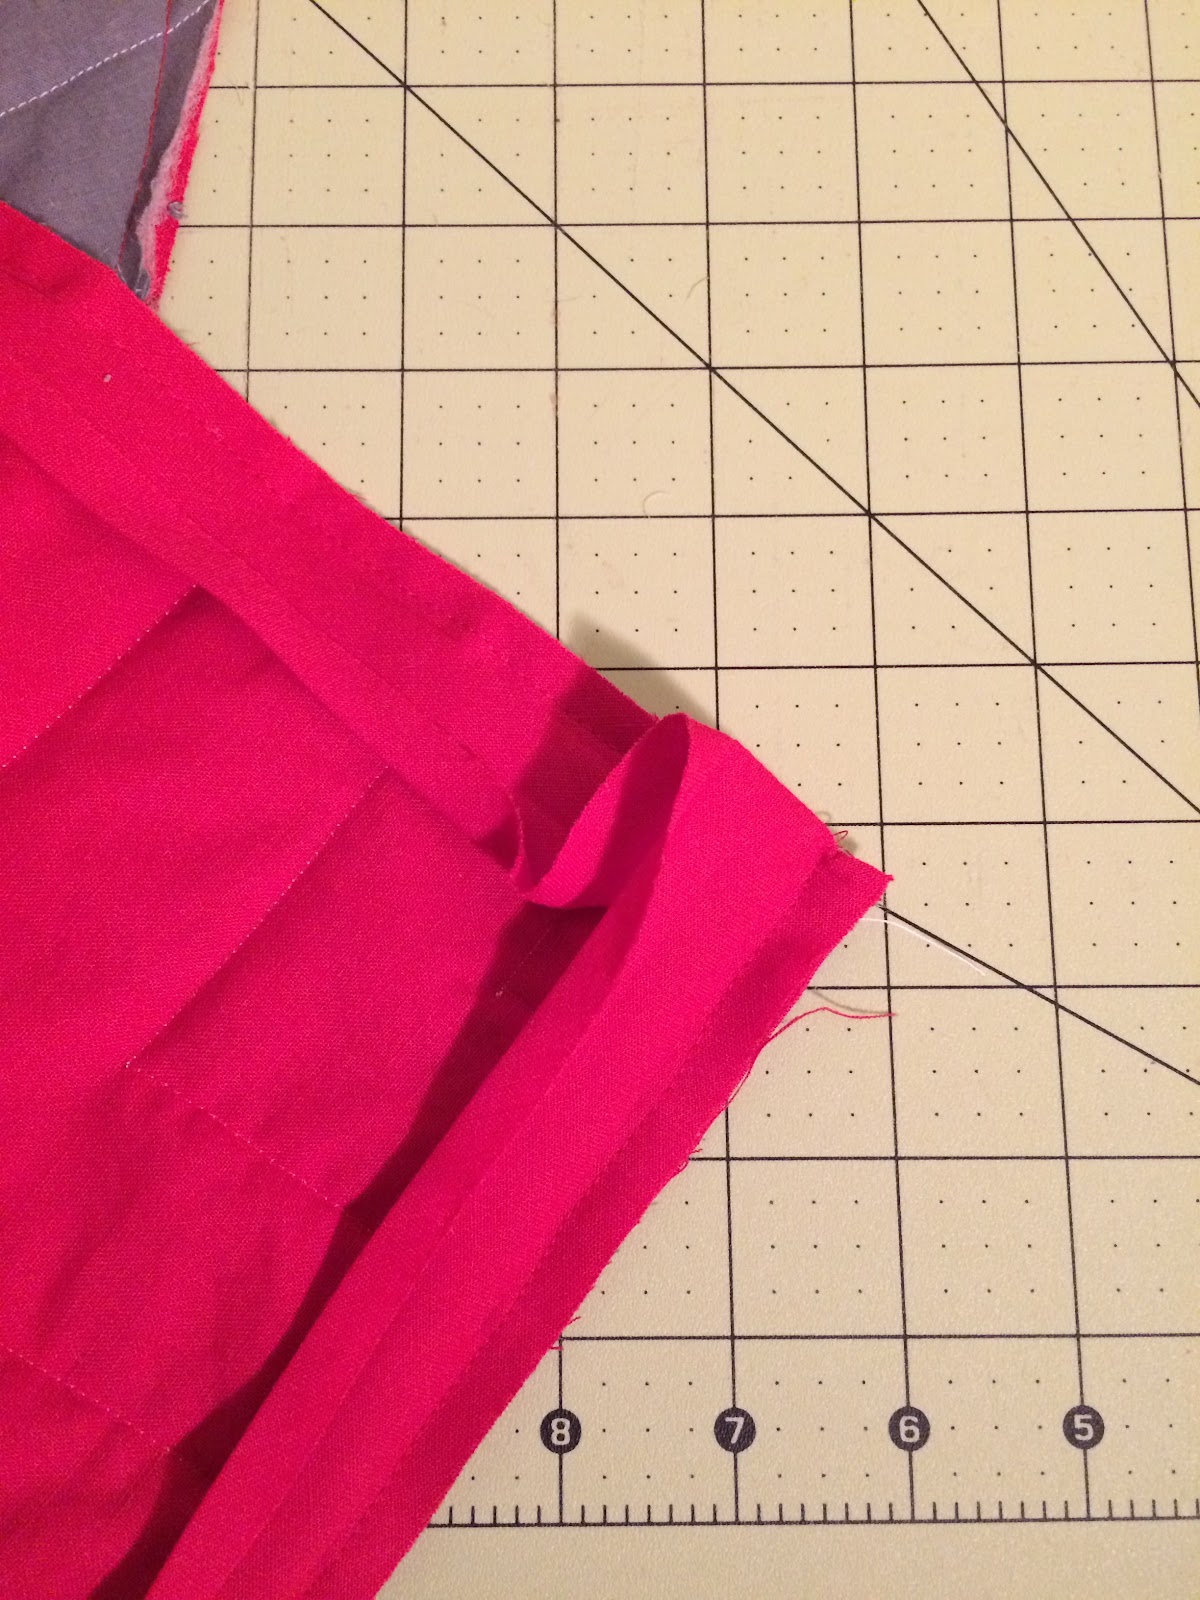
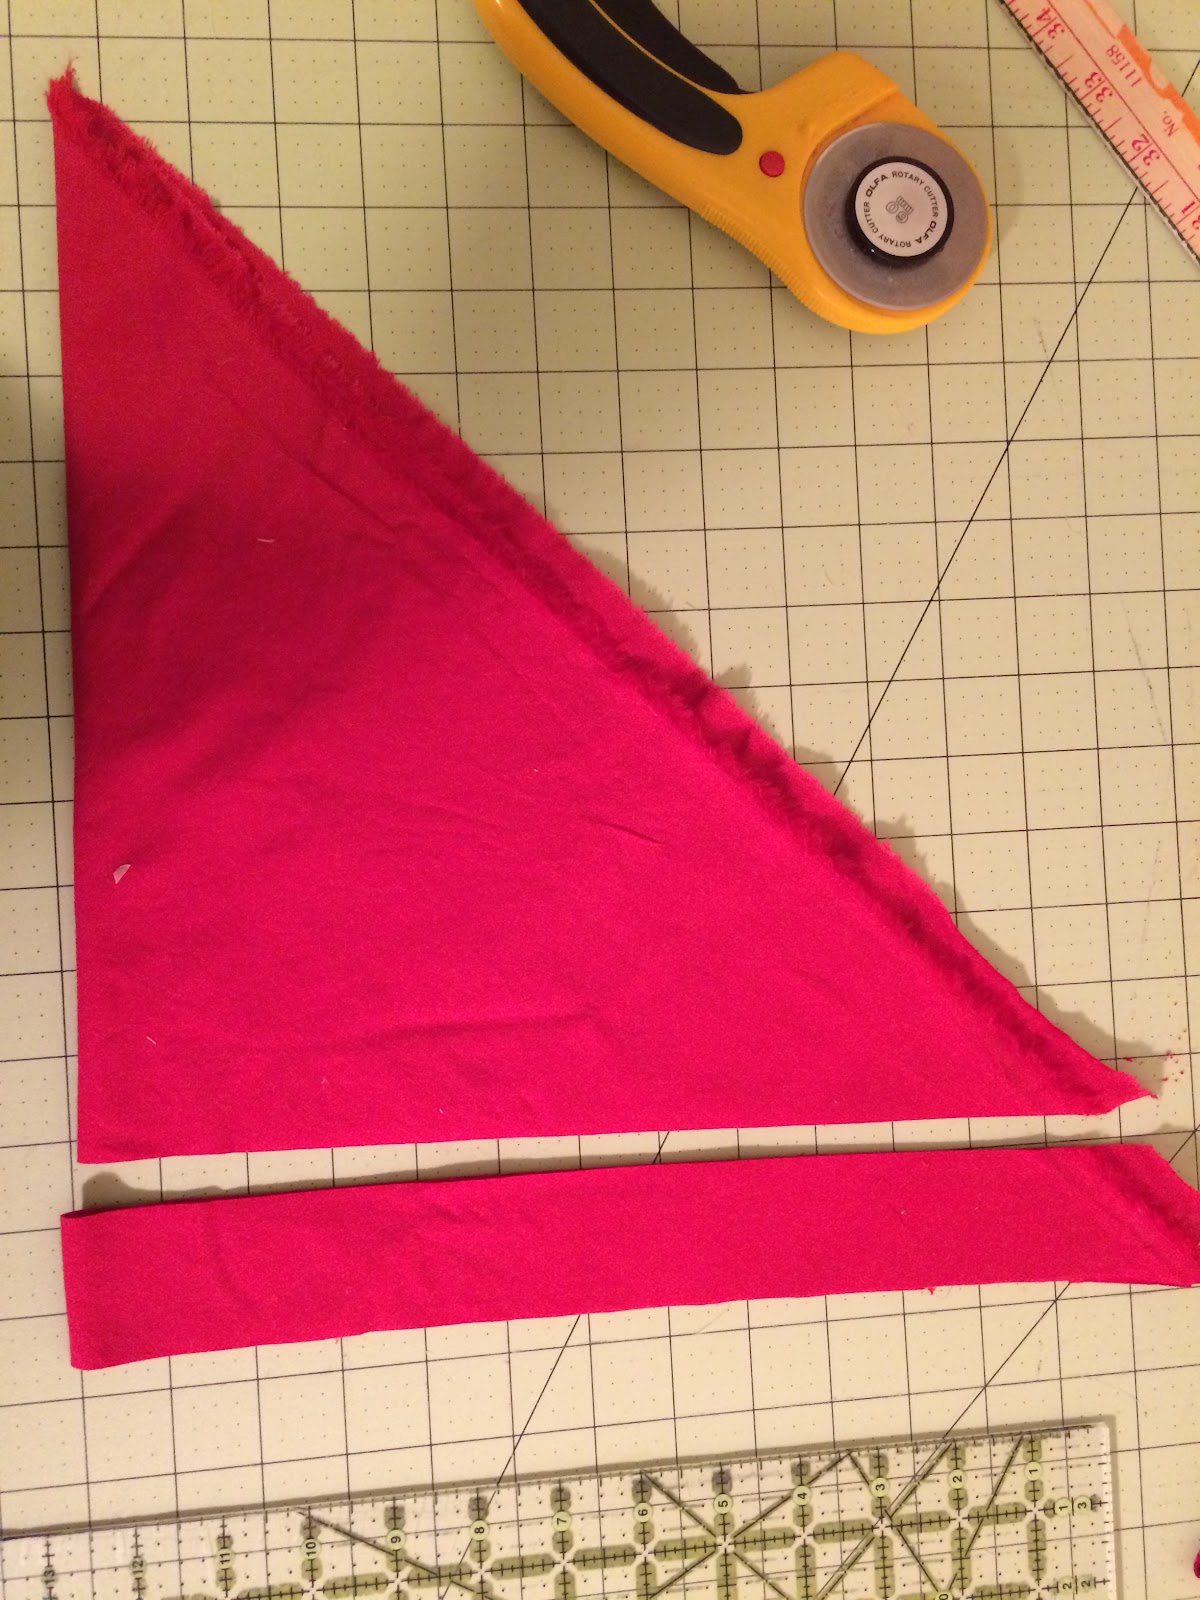
Once I had finished the quilting, I trimmed the edges on each side to remove the extra backing and batting. From the beginning of pinning to the final trim, this process required about three hours of my time.


Monday, January 4, 2016

Preparing for Quilting

The process I follow for quilting a top to a bottom is pretty similar to what you can find on many quilting blogs. I have a few additional steps, because of my house:

Step 1. Find a large enough uncovered floor-space on the wood floor to fit the quilt. This usually entails moving furniture around, rolling up a floor rug and/or cleaning the floor (we have a dog).

Step 2. Cut the backing fabric so it is several inches wider and longer than the quilt top. Joann's sells wide fabric for quilt backs - or you can go to Goodwill or a garage sale and find an old sheet. I like to use cotton. If you cannot find some backing fabric that is wide enough, piece something together.

Step 3. Cut the batting material so that is it is about one inch smaller in length and width than the backing material. I try to buy king-sized rolls of batting when I have a good coupon for Joann's.

Step 4. Use painters tape to lay out the backing fabric (wrong-side up) to the floor. It should be stretched to the point that the fabric is flat.

Step 5. Spread out and center batting on top of backing fabric and the quilt top on the batting. You should have rim of backing fabric and a smaller rim of batting visible around the quilt top.

Step 6. Pin the quilt together. I have a box full of safety pins. I leave the pins open, dump a handful on the quilt and begin to pin the three layers together. I usually start from the center and spiral out - pinning every 2 to 3 inches.

This seems like a tedious process - but it seems to be important for ensuring that the backing fabric stays flat and the layers stay in alignment when you sew them together. It is nice to have something good to listen to while you do this.

Once the quilt is pinned together, you can remove the painters tape and fold the quilt up until you are ready to sew it together.